Designing Heirloom Reworks
If you follow Marrow on Instagram, you have probably seen me doing (embarrassing) things in the stories, but if not, let me introduce myself! I’m Charlotte, the lead buyer/designer/production manager, and when I’m not trying to fix the showroom ghost chairs that I built (not very well), I’m sourcing stones and ensuring our clients’ projects run smoothly. This means I see most projects through from the design phase of our process to the finished piece. Custom jewels are a huge part of Marrow, and it’s so amazing to see a piece come to life from an early concept. Client projects excite me daily, but there is nothing quite like making a piece you get to keep for yourself!
Heirloom Ring Gets a Makeover
Nearly five years ago, I received an heirloom ring from my grandma with four diamonds in a chunky 80’s setting. It was neither my size nor style, so it sat in my jewelry box until 8 weeks ago, while I constantly contemplated what to do with it. I even reached out to a few designers when I first got it, but nothing felt like a good fit. The diamonds are all different sizes, so there weren’t very many designs that could include all of them (that I liked at least).

Recently, one of my friends from college came into our showroom to do an heirloom update and we settled on a cluster ring. When I saw the finished piece, I was sooooo amazed at how well it turned out! I instantly wanted one too. But then I realized I could do something similar with my heirloom diamonds!
Designing the Diamond Cluster Ring
We pulled all the diamonds from the setting and started playing with layout ideas and adding stones. After five years of indecision, it only took 15 minutes to figure out a layout I loved. Who knew I could be so decisive!? We decided on a rad cluster using all four diamonds and adding four Montana sapphires (my favorites!).

Creating The CAD
Once this initial design was decided upon, everything else was a breeze. We then moved to the CAD (computer-aided design) process. I loved how low profile it was and the prong placement was perfect! The colors are never exact in the computer model, but this phase is really to make sure the stone placement is perfect.

Wax Ring Model & Gold Casting
After approving the design, we 3D printed an exact model of the ring in wax. The wax model is then invested in plaster and cast through the lost wax casting method. Basically what this means is our caster will make a tree of little wax models, pour plaster over it and let it cure.
Then it goes into a kiln where the wax melts out, leaving a perfect impression in the plaster of all the pieces that will be cast. Molten gold is poured into the investment, then dunked in water so the plaster melts away, leaving a beautiful golden tree of future Marrow pieces.

Setting The Ring
After the piece is cast, it goes through a round of polishing to ensure the seat under each stone is perfect and smooth. Then the setter does his thang and polishes her up one more time and…. Voila! The finished piece is ready to wear!

It was so much fun to be on the client-side of the process and create a piece I’m absolutely OBSESSED with!
Since we had so many people inquire about this ring, we made a limited edition run of mini versions of this ring. We still have a few of these beauties left! 
If you are interested in one of these mini cluster rings or in creating a custom piece, please email info@marrowfine.com for timing, details, and pricing.
// Images shot by Charlotte Barrows. The second to last image was photographed by Arielle Vey @ariellevey // The last image was shot by Keith Zacharski @inthebarrelphoto


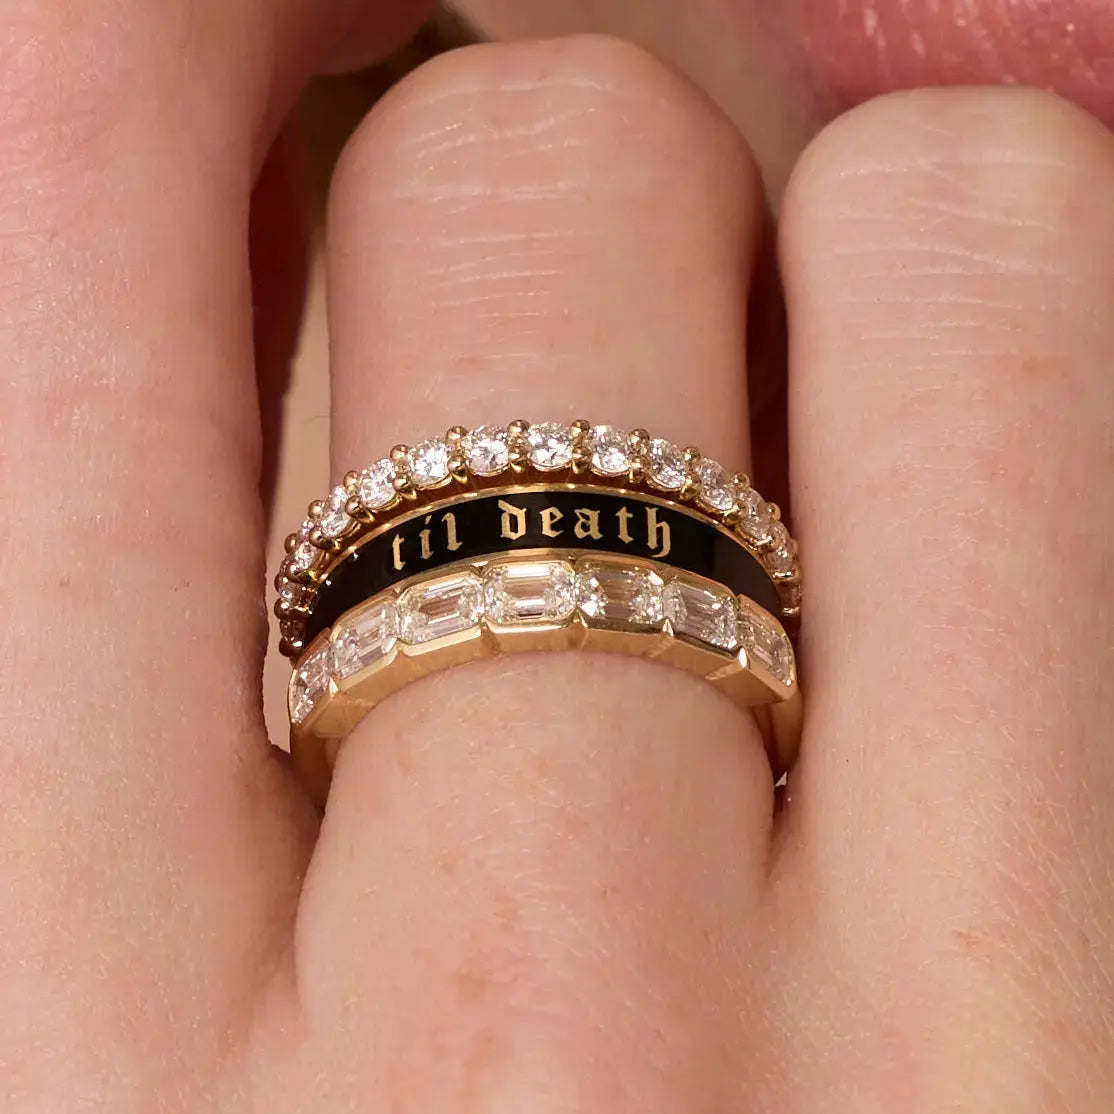
![Til Death Black Enamel Band - 4mm [yellow gold front]](http://www.marrowfine.com/cdn/shop/files/Tildeathblackenamel_YellowGold.jpg?crop=center&height=1500&v=1760536289&width=1500)

![The Harley Ring [Yellow Gold]](http://www.marrowfine.com/cdn/shop/files/The_Harley_Ring_YG.jpg?crop=center&height=1500&v=1751935264&width=1500)
![The Harley Ring and Custom Enamel Band in Luxardo [on hand]](http://www.marrowfine.com/cdn/shop/files/WDHarley_CustomEnamelBand.jpg?crop=center&height=2462&v=1753724376&width=2462)

![Til Death Black Enamel Band - 6mm [Yellow Gold]](http://www.marrowfine.com/cdn/shop/files/TilDeathBlackEnamel6mm.jpg?crop=center&height=240&v=1760536277&width=240)
![Something Blue Enamel Band [Yellow Gold]](http://www.marrowfine.com/cdn/shop/files/SomethingBlueEnamelBand.png?crop=center&height=240&v=1751935122&width=240)
![Everyday Dome Ring [Yellow Gold]](http://www.marrowfine.com/cdn/shop/files/Everyday_Dome_Ring_YG.jpg?crop=center&height=240&v=1751935188&width=240)
